Image

Archive for birthdays

celebrate . Double Digits

10

This sweet guy turned 10 at the beginning of the month! My heart is still quite in shock that my first-born is now in double digits, but I’m so very proud of the smart, funny, courageous young man my Little Drummer Boy is becoming.

travis

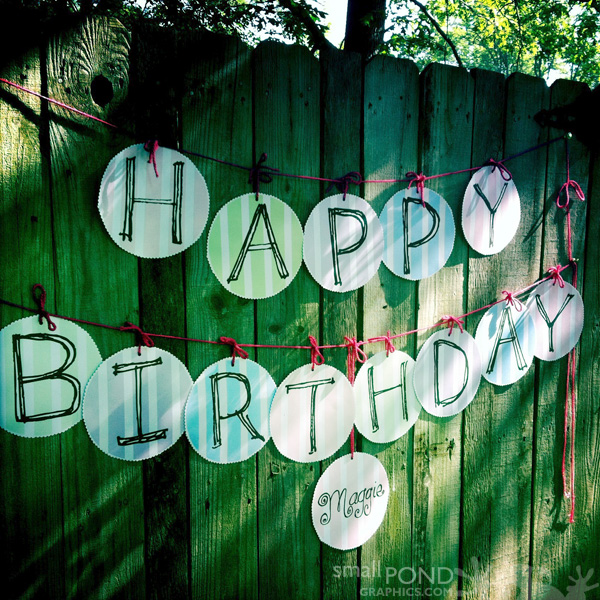
We celebrated the big 10 with a small “friend party” at a local gym, and decided on a “magic” theme. I had a great time painting and designing some invitations and trappings for my favorite client 🙂 so I thought I would share a peek at some of the preparations.

party_invite

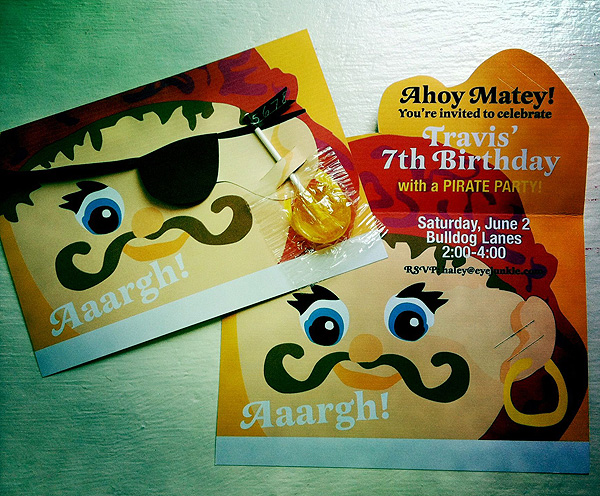
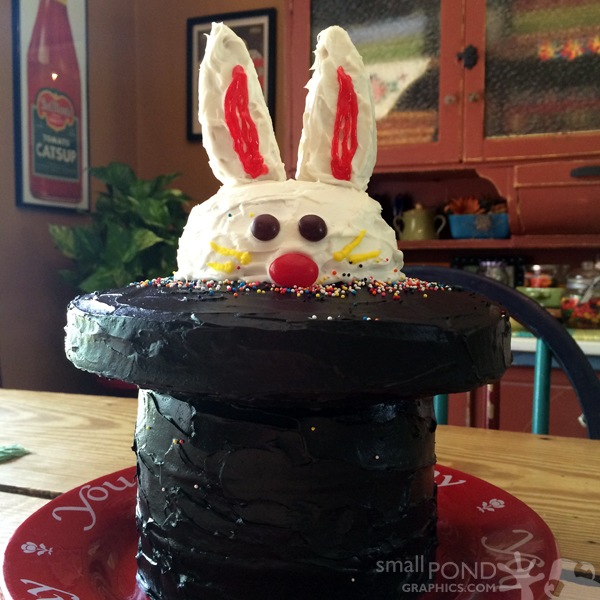
We used a magic hat and wand in the watercolor invitations, so I decided to go with that theme for some of the snacks. We made pretzel stick magic wands and chocolate-covered marshmallows sitting on oreos to create top hats. For the party centerpiece, I built a “magic hat” cake, complete with a bunny appearing out of it — fun times with black gel icing! We made mustache and bunny iced cookies, and I also had fun decorating some sheet cakes as playing cards for the card trick effect.

Now, I’m not a baker or a cake decorator, or even a great food crafter. I don’t really consider myself “good” at that kind of thing,  but I had a couple of crazy ideas to go along with the magic theme, and I had a really great time fleshing them out for us to enjoy. As moms, I think sometimes we try to hold ourselves to a standard of perfection in our pinterest-crazed world. During our prep time, I found myself thinking, “this looks so home-made,” as if the less-than-perfect icing was somehow a negative thing. The smiles on my kids’ faces were a good reminder that it really is the effort — the act of loving through doing and making — that counts most toward making memories. Not how smooth the icing is! So, with that disclaimer, here are a couple of peeks at our magic creations…

pretzelwands

oreo_hats

card_cake

birthday_banner

rabbit_cake

treats1

treats2

make . Birthday Circle Banner [printable]

hb_bannerdownload1

Last month, we celebrated my Baby Girl’s 5-year-old birthday with her first little “friend party,” held in our backyard with lots of swimming, playing in the sandbox, and eating cupcakes! [Give me a moment, because I can’t believe she’s five already!]

I used some doodles and hand-drawn letters on her party invitations, including a cupcake with plenty of Baby Girl’s signature sprinkles. I thought I would share with you the “Happy Birthday” banner, “Happy” hang-ables and favor tags I made to match. They are a very easy print and cut pattern. I just used scallop scissors to cut them out so it doesn’t matter if you don’t cut a perfect circle. The banner and hang-ables are about 8″ circles, and the favor tags are about 3 1/2″ circles. The downloadable PDFs include one circle per letter for “Happy Birthday,” “Happy,” and cupcake hang-ables, as well as the small cupcake circle tag with an optional “thank you” to print on the flip side. The pieces are in pastel pink (my girl’s fave), green, lavender and blue. Just punch holes and tie or hang for your own celebration. And, really, is there ever a day when we don’t need more “HAPPY” and cupcakes?

HAPPY BIRTHDAY BANNER PDF DOWNLOAD

CUPCAKE/HAPPY HANG-ABLE PDF DOWNLOAD

CUPCAKE TAG PDF DOWNLOAD

hb_banner2 hb_banner3 hb_banner4

And, just to recap… Awww!

maggie1

[originally posted at EyeJunkie.com on her 1st birthday :)]

make . DIY Paper Stars

paperstars1

Last month, we celebrated my oldest son’s 8th birthday around the Montgomery household! While I was getting over the shock that he could possibly be eight, I decided to create some fun decorations for our dining room chandelier. We decided to have just a “family party” rather than a “kid party” with friends this year, but I still wanted him to feel special — for a couple of weeks 🙂

Maybe I’ll share the “8yo Birthday Blast-Off” rocket centerpiece I made him to hang from the light in another post, but for this one I decided to offer a little how-to on some paper stars I created for the rocket’s airspace. These are really simple, and you can make them with any solid or patterned paper. I decided to print out some silly patterns in the colors I wanted, and you can download those if you like them. The stars are so whimsical that those white spaces left at the edges when you “print to page” from an inkjet printer aren’t even noticeable. So, I can even see these stars as a neat and festive way to recycle used printouts! Enjoy and have a blast in your own starry celebrations!

paperstars2

What you’ll need:

>> Sheets of paper — any size, where the width = about 1/3 the length.
** I used a 8 1/2 x 11″ sheet cut in half to make two stars
[you’ll need that approximate width/length to be sure your star can easily open to a full circle]
>> Tape
>> Scissors
>> Twine or string

paperstars3 paperstars4 paperstars5 paperstars6

How to make it:

1. Gather your materials so you’re ready to begin — the more fun the paper and string, the better!

2. Fold your piece of paper accordion style along the narrow side. It doesn’t matter how wide the fold it, just try to keep it consistent.

3. When your folding is complete, cut the strip in half. You’ll be able to make a star out of each half? When cut, carefully fold the strip in half. You can use a straight-edge to help crease the fold. Then, tie a string around your folded strip at the crease.

4. Now you can get creative! Using the scissors, cut various shapes into the sides and/or ends of the folded strip. Your cuts will create light holes for more twinkly stars.

5. Pull the top and bottom ends of the accordion folds toward each other and secure with tape to create a full circle. you’ll tape on the opposite end of a fold as shown above.

6. Thread a string or ribbon through one of the star holes and you’re ready to hang for a stellar celebration!

paperstars7

A Birthday Project

This past weekend, we had a fun time with a Pirate birthday party for my 7-year-old. It’s always fun for me to do silly projects for my kiddos, so I thought I would share. I created a mustache-wearing pirate party invitation with a fold-over eye patch and a sucker for an “earring.” I got a “cool” from said 7yo, so I claimed that as a success.

To put the invitation together, I found some black decorative tape with numbers printed on it in my tape jar to create a silly flag on those big, round “bank” suckers. I threaded the stick through slits in the invitation to hold the eye patch flap in place.

I’ve included a generic version of the invitation here that you can print if there is a pirate birthday celebration coming up in your family. Just click the sample instructions below to download a pdf copy. Ahoy Matey!

Divider Footer